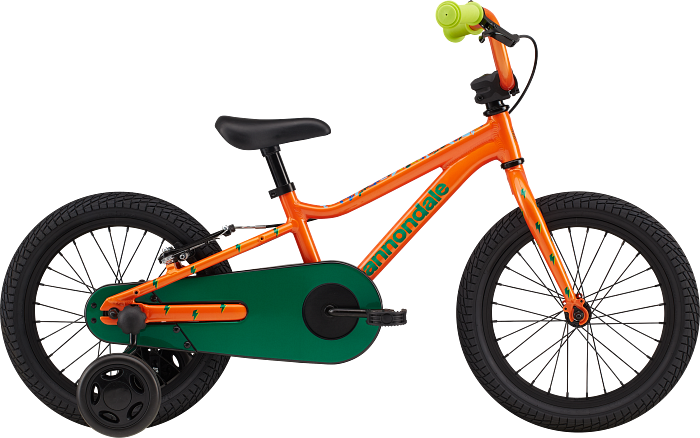
Children’s Bike Maintenance Basics
There are a few basic steps for routine Children’s Bike Maintenance. Check for squeaky wheels, inflate tires, clean the frame, and adjust the seat height. Then, apply a light coat of oil to any parts. Once the bike is dry, you can perform the “drop test” by raising it up to about six inches off the ground and dropping it. You should also inspect it for loose parts and adjust them if needed.
Repairing squeaky wheels
Fortunately, several easy solutions exist for fixing squeaky wheels on children’s bikes. The first step is to remove any debris from the wheel rim. If there is any residue, it could be caused by dirt or rubber deposits. You can also try cleaning the inside parts of the wheel with compressed air or a dry Teflon spray. Avoid using lubricants on the wheel rims because they may collect dirt and perpetuate the problem. If the problem persists, replace the wheel per the manufacturer’s instructions.
The next step is to find the source of the noise. In some cases, squeaking can indicate a worn-out chain and bearings. Simple lubrication and washing will usually solve the issue, but if the noise persists, it may be a sign of a more serious problem.
Other causes of squeaky wheels include brake fluid contamination. This can affect the rim brake or disc brakes. The problem may also be caused by debris on the brake pads or blocks. Other problems include worn-out brake blocks, misaligned brake surfaces, and aerosol contacts between the brake pads and the rim.
- 【Complete Bike Tool Kit】: The CYCLISTS 23 piece Bike Tool Kit contains all the tools to help you keep your bike in perfect working order, perform routine maintenance, repairs and upgrades.
- 【Easy to Use】: The Bike Repair Tool Box is a tool set for bike mechanics at home, work or on the road. If you are looking to maintain your own bike or wanting a mobile tool case to take on the road, the CYCLISTS bike tool kit will become a firm favorite for accomplishing your maintenance.
- 【Bicycle Repair Tool Kit Includes】: Chain rivet extractor, Chain ring nut wrench, Crank puller, Freewheel turner&lock ring wrench, Bottom brachet wrench, 15mm pedal wrench, Hex hey wrench(8mm), 2-in-1 master link chain pliers, Tire lever, Flat/phillip screwdriver, Flathead screwdriver, Hex key wrench set, Torx wrench, Hub spanner, Spoke wrench, Crank cap wrench, Lockring removal tool, Cartridge BB tool, Tire patch kit.
- 【High Quality Material】: Major in bike accessories more than 10 years, we know a lot about cycling products, this bike tool set made in Taiwan – world excellence of cycling products. This tool set with premium carbon steel and high quality plastic tool construction ensures durability and strength.
- We truly want you to be happy with your new bicycle repair tool kit and our professional customer service will do whatever it takes to ensure your satisfaction we are offering a 12-month guarantee.
Last update on 2026-06-30 / Affiliate links / Images from Amazon Product Advertising API
Inflating tires
Understanding how to inflate tires on children’s bikes is important. Inflate the tires at the right PSI to ensure they’re comfortable and provide the best grip while riding. The pressure should also be adjusted to account for the weight of the child riding the bike and the riding conditions.
The recommended PSI for a child’s bicycle tire is between 7.6 and 14.9 pounds per square inch. Different wheel sizes require different tire pressures. You can gauge the correct pressure by squeezing the tire with your hands or by observing how much the tire sags when the child rides. Alternatively, you can purchase a hand pump with a built-in PSI gauge.
The pressure should be adjusted according to the child’s weight and terrain. If the child is riding on pavement, use lower pressure. Otherwise, you risk punctures. For off-road riding, a pressure of 35 to 40 psi is best. Inflating the tire too high will cause the bike to be harder to handle and increase the risk of a flat.
Once you’ve figured out the correct pressure, you can start pumping. Make sure the tire is at the correct pressure for the road conditions. A low-pressure tire will wear out quicker and will result in more friction against the road. Likewise, an over-inflated tire can be uncomfortable for the child.
Cleaning frame
You can clean the frame and wheels of your children’s bike using soapy water and a sponge. Brushes can also be used, especially for hard-to-reach areas. You can also spray the bike with a hose to remove the dirt if you have a hose. Handles and brakes should also be cleaned. The wheels should be rinsed thoroughly after cleaning. The cranks should also be spun so that the drivetrain falls back into place. Afterward, place the bike outside to dry.

- Chapter on disc brakes covers maintenance, service, and repair of all hydraulic and mechanical systems
- All derailleur shifting systems (5-speed through 11-speed) all bottom bracket systems (cone-and-cup through press-fit) all brake systems (including caliper, V-brake, cantilever, and disc) all headset, stem, handlebar and fork systems wheelbuilding for
- Tech covered in depth: through-axle forks, SRAM eTap wireless shifting, second generation Shimano and Campagnolo electronic shifting, direct-mount sidepull brakes, SRAM X-Sync 1×11 cyclocross systems, tubular tire gluing tapes
- Chapter on electronic shifting covers maintenance, service, repair, and troubleshooting of all Shimano, SRAM, and Campagnolo electronic shifting groups
- Master Guide to press-fit bottom brackets
Last update on 2026-06-30 / Affiliate links / Images from Amazon Product Advertising API
For best results, use a brush specially designed for the task. The brushes come in different shapes and sizes to clean the bike frame without scratching it. Alternatively, you can use dishwashing liquid, which can easily remove dirt and grease. However, ensure not to use too much detergent, as this can damage the frame.
Firstly, wash the bike with soapy water and a soft brush. Start from the top and work downward. Be careful not to get soap on the rotors and brakes. You can use a specific rotor cleaner or rubbing alcohol if you do. After cleaning the frame, you can wipe the bike with clean water and dry it with rags.
Keeping your children’s bike clean is an important part of bike maintenance. Regular cleaning will reduce wear and tear on the bike. Also, a clean bike will project a good image of the rider. In addition to regular cleaning, you should also make sure the bike is lubricated.
Adjusting seat height
Adapting the seat height of children’s bikes is not a difficult process. You can easily adjust the saddle height with the help of a wrench or quick-release lever. If you are unsure about the correct seat height, seek assistance from a bike expert. Usually, kids prefer a lower seat height. Having a lower seat height is better than having it too high.
When adjusting the seat height for children’s bikes, remember that a high seat can put excessive pressure on the child’s hands. Try setting the handlebars slightly lower than the seat to compensate for this. However, placing the handlebars above the saddle is not advisable, as this can cause back strain.
Ideally, the saddle height of a child’s bike should be two or three inches higher than his or her inseam. A lower seat height can make braking easier, particularly if the child is inexperienced with bikes. You can raise the seat height slightly as your child becomes more confident.
The height and inseam measurements will help you choose the correct bike size. Those measurements can be obtained from a bicycle manufacturer by taking the child’s inseam measurement and height. If the child is between sizes, try on a few bikes before settling for one.
Assembling bike
Assembling a children’s bike is not that difficult, especially if you follow a few steps. First, you need to remove all the packaging. Then, remove the stem and adjust the handlebar angle by loosening the bolts about 3/4 of the way.
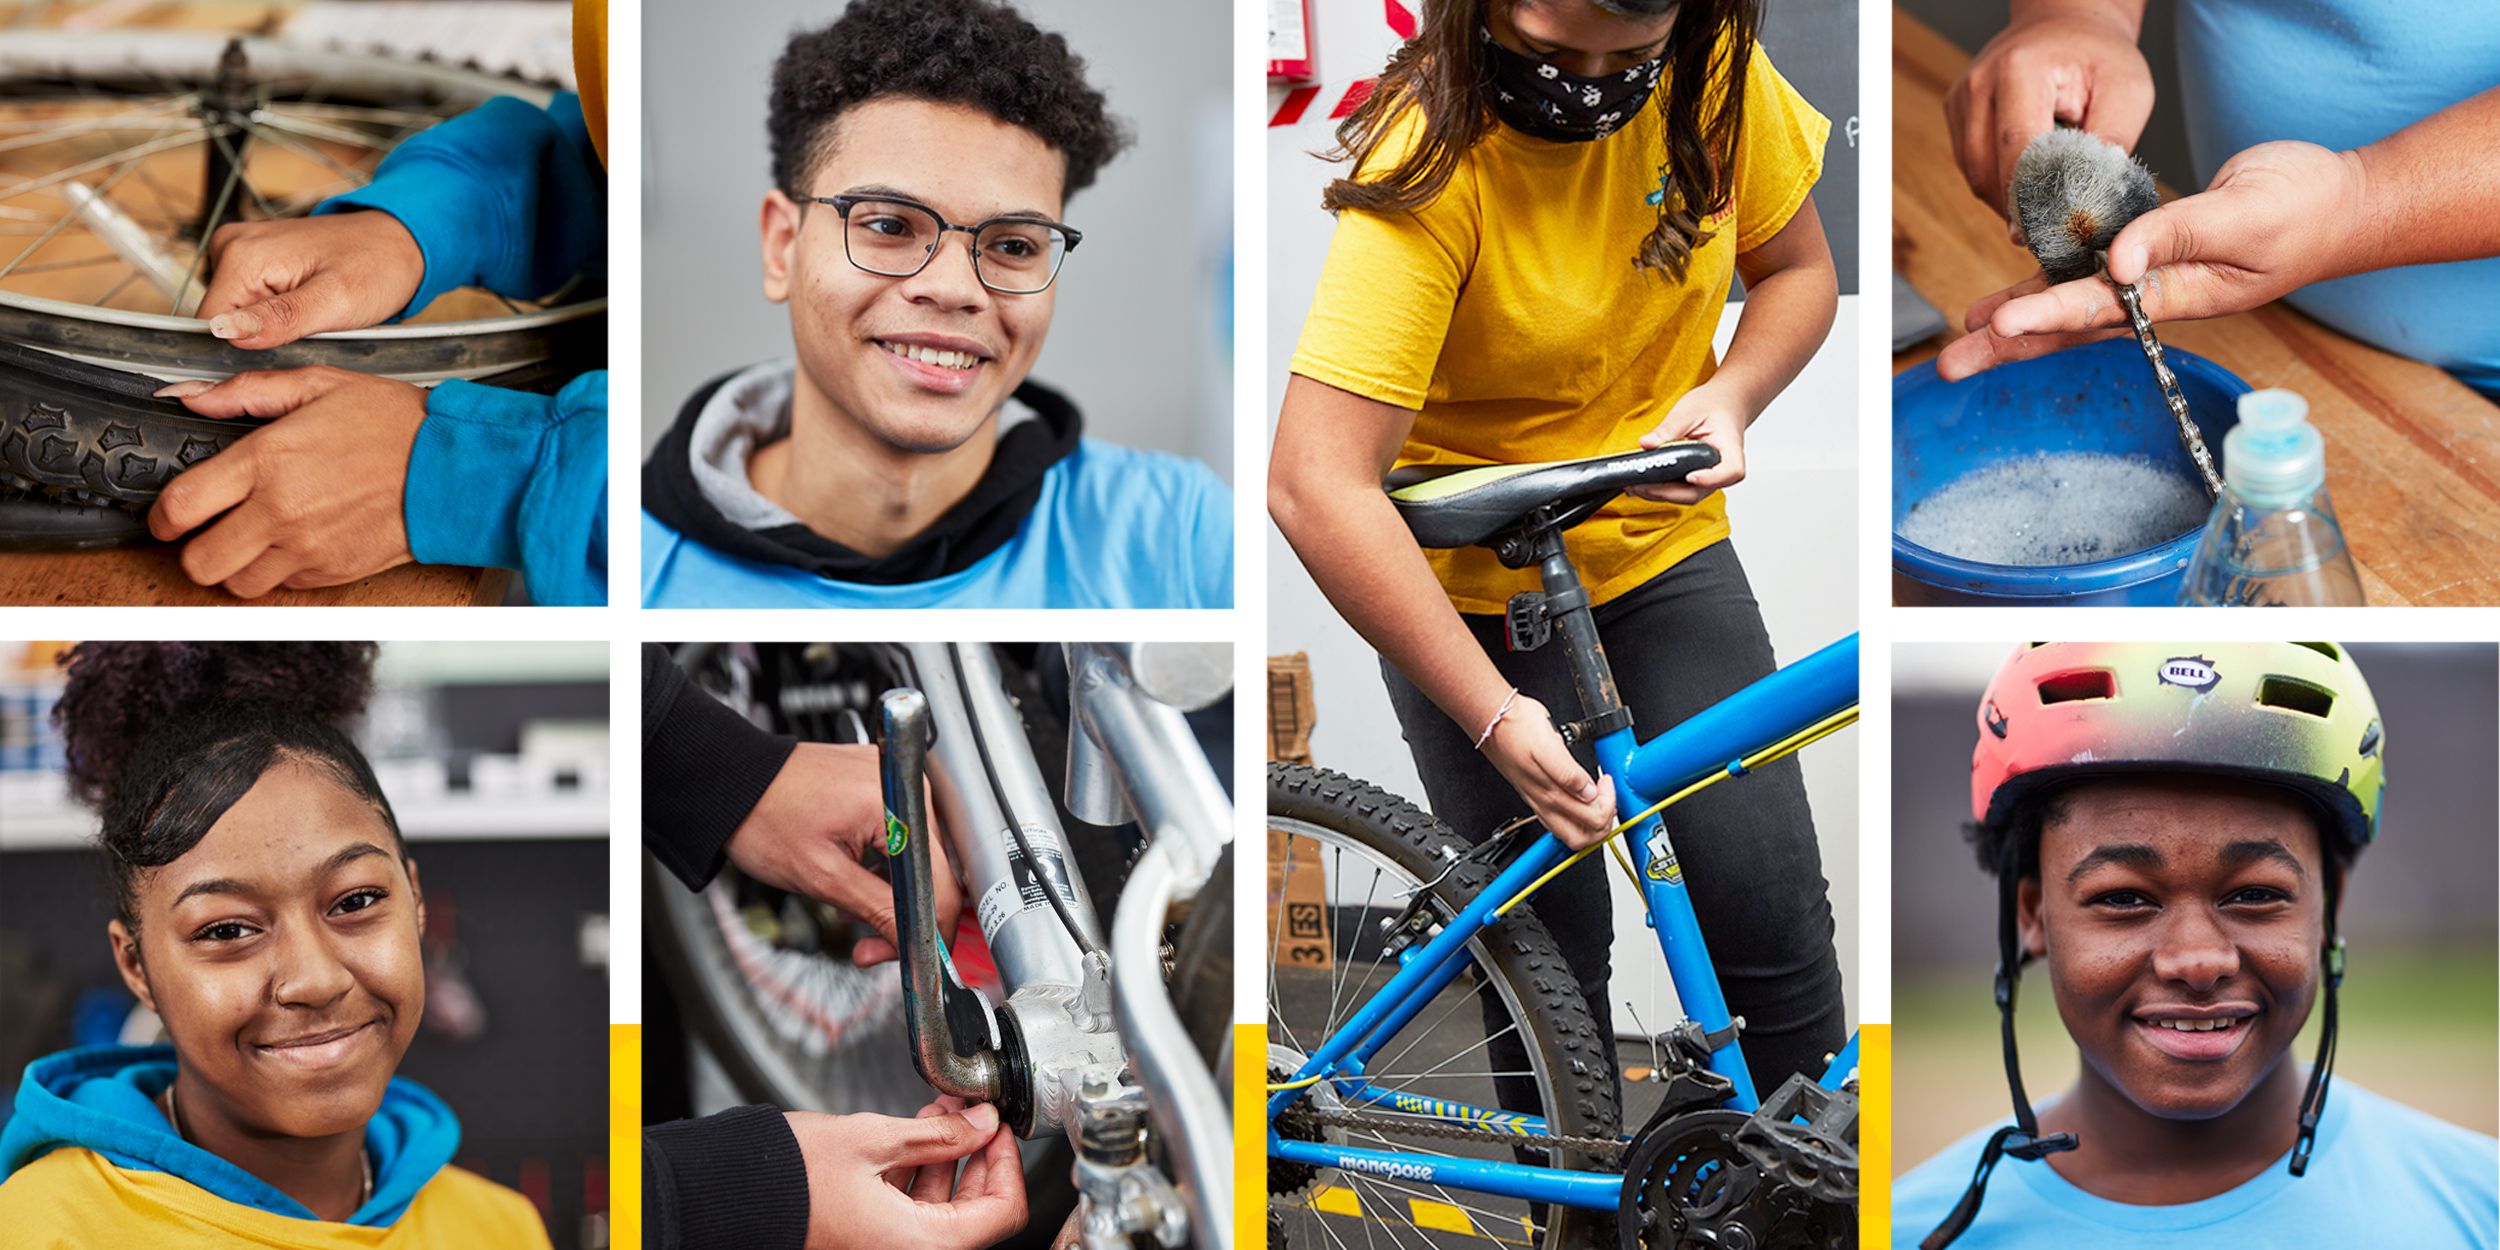
Next, ensuring that the child’s bike is in good working order is important. If you cannot do this, you can seek help from a mechanic. This is an excellent option for many reasons. For starters, you can avoid transporting the bike to a mechanic. Moreover, hiring a mechanic is usually a reasonable price.